
Slat Fencing DIY Guide: Build Your Own Stylish Fence
Slat Fencing DIY Guide: Build Your Own Stylish Fence
DIY slat fencing is one of the most effective ways to add privacy and a modern touch to any Aussie backyard. Most people think it’s as simple as lining up a few slats and grabbing a drill, but the success of your whole project can actually come down to the prep work you do before you even pick up a tool. Here’s the shocker: more than 60 percent of fencing issues happen because someone skipped measuring or ignored local regulations, not because of dodgy materials or tools. That means if you want a fence that looks spot-on and stands strong for years, it’s the behind-the-scenes planning and checking that really set you up for a win.
Table of Contents
Quick Summary
| Key Point | Explanation |
| 1. Measure Your Fence Layout Precisely | Accurate measurements set the foundation for your fence, preventing costly errors and ensuring proper alignment and spacing. |
| 2. Select Quality Materials | Choose durable materials appropriate for your environment to ensure longevity and compliance with local regulations. |
| 3. Ensure Correct Post Installation | Proper post placement and bracing are crucial for structural integrity, contributing to a stable and secure fence. |
| 4. Maintain Consistent Slat Spacing | Uniform slat gaps visually enhance the fence while ensuring privacy and airflow based on your preference. |
| 5. Conduct Final Inspections | Verify structural stability and aesthetic alignment, making adjustments as needed to ensure a professional finish. |
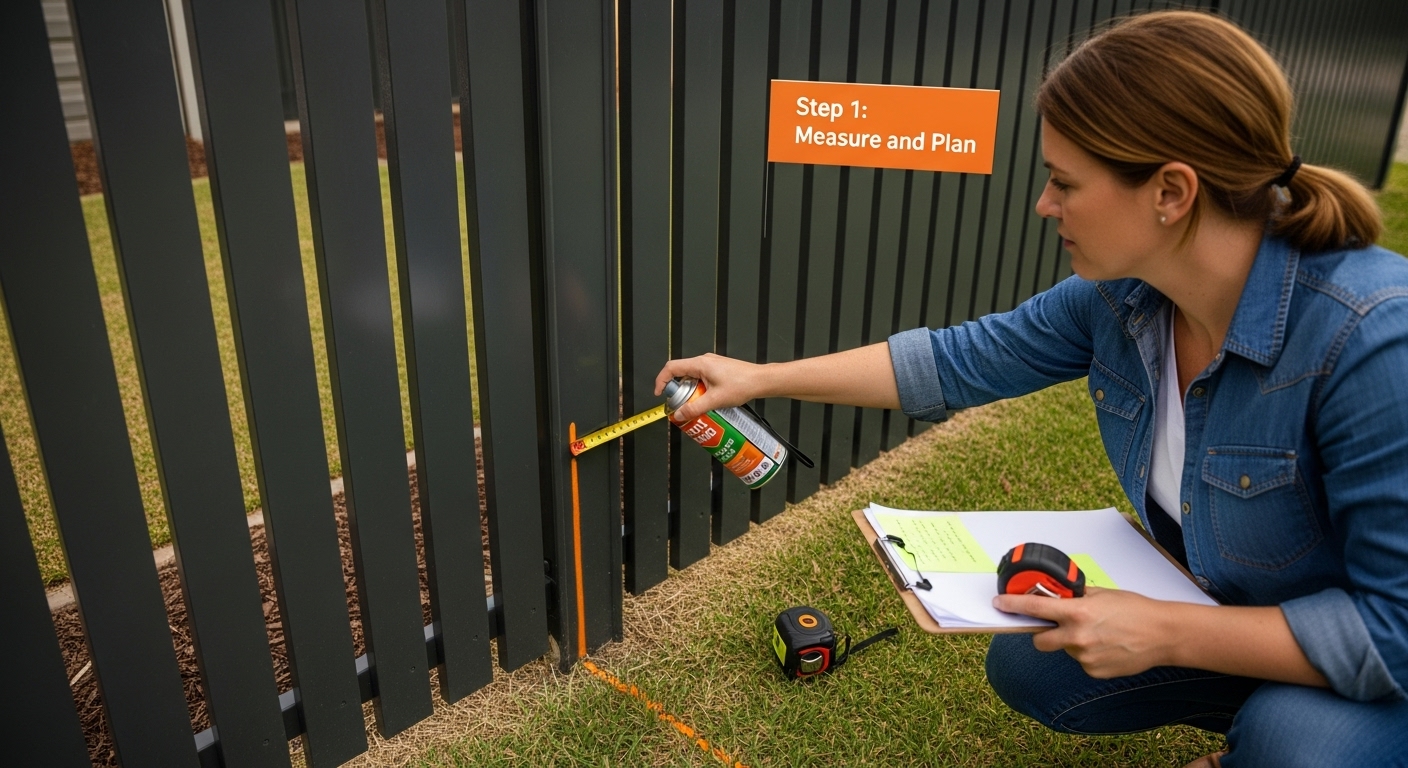
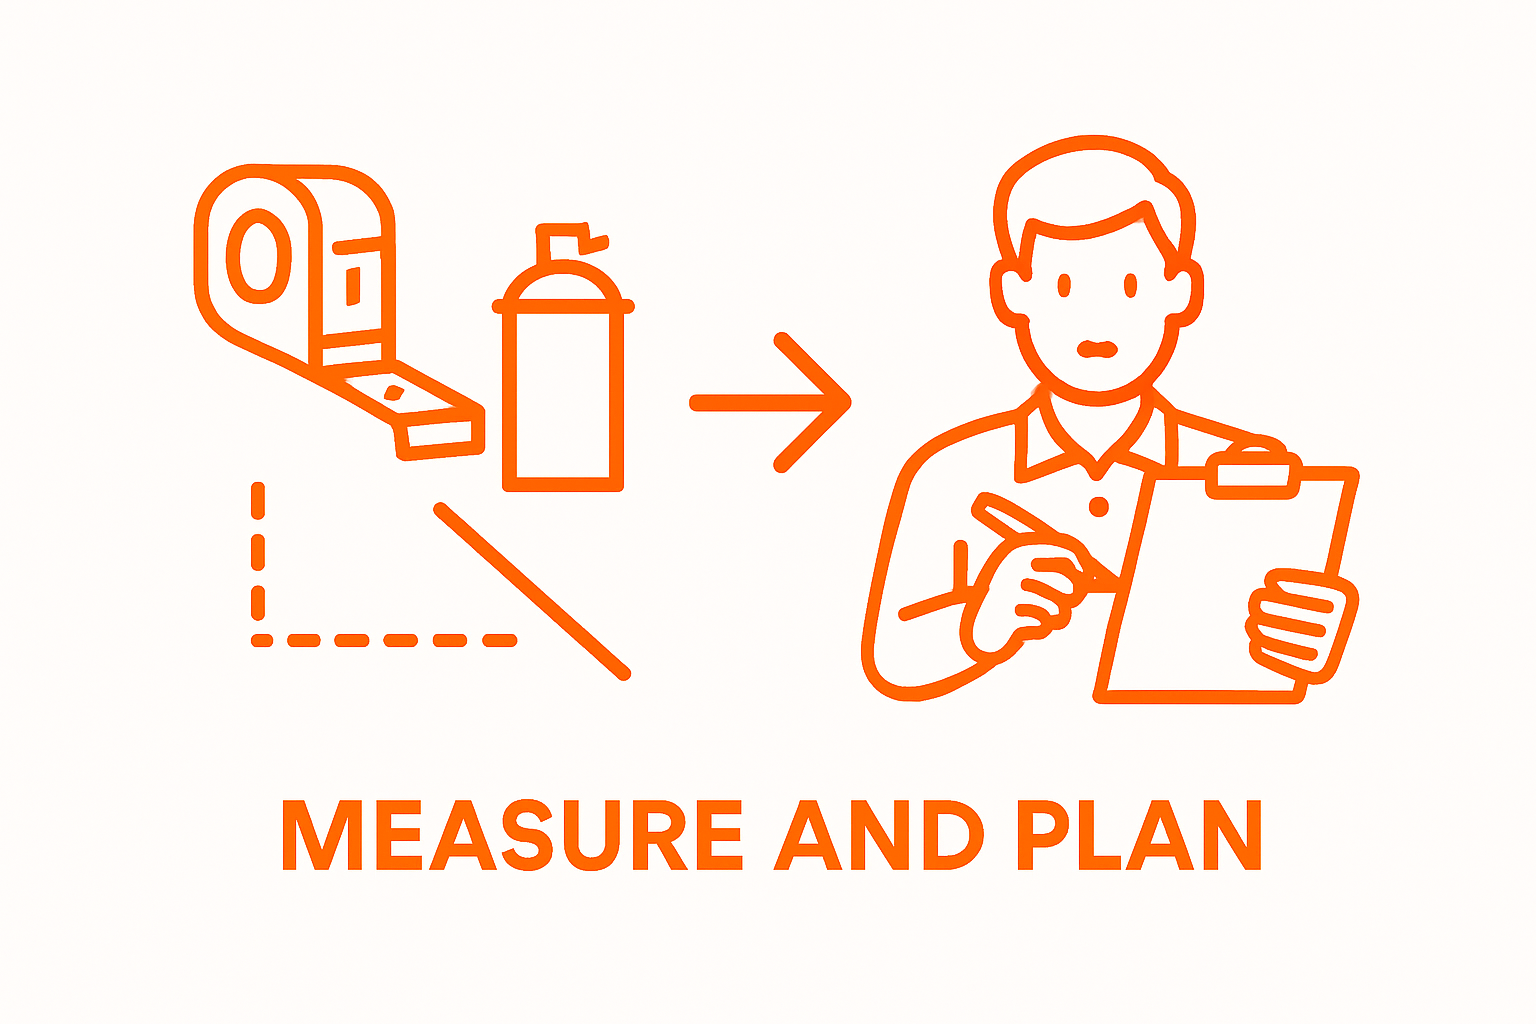
Step 1: Measure and Plan Your Fence Layout
Preparing for your slat fencing DIY project starts with precise measurement and strategic planning. This crucial first step determines the success of your entire fencing installation, ensuring a professional result that looks sharp and functions perfectly.
Begin by walking your property boundary and carefully marking out the exact fence line. You’ll want a tape measure and marking spray paint to create clear, visible lines indicating where your slat fence will sit. Take time to identify any potential obstacles like tree roots, utility lines, or uneven terrain that might complicate your installation.
Accurate measurements are critical. Measure the total length of your proposed fence line multiple times to confirm precision. Pro tip: Always measure twice and cut once. Your measurements should include not just the straight sections but also account for any corners or angles.
 Calculate the total linear metres required, which will help you determine how many slats and support posts you’ll need.
According to the ACT Government fencing guidelines, it’s essential to verify property boundaries before commencing construction. This might involve consulting your property survey documents or potentially engaging a professional surveyor if boundary lines are unclear.
Consider the terrain and ground conditions carefully. Sloped or uneven ground will require additional planning. You might need to create stepped fence sections or adjust post heights to maintain a consistent fence line. Take detailed ground measurements and note any significant grade changes along your proposed fence route.
Key verification steps for this stage include:
-
Confirming total fence length
-
Identifying and marking all boundary points
-
Checking for underground utilities
-
Verifying local council fencing regulations
By meticulously measuring and planning your fence layout, you’ll set a solid foundation for a successful slat fencing DIY project that looks professional and stands the test of time.
Step 2: Gather Materials and Tools for Construction
With your fence layout carefully planned, the next critical phase is assembling the right materials and tools for your slat fencing DIY project. Proper preparation will save you time, frustration, and unnecessary trips to the hardware store.
For a standard slat fence, you’ll need aluminium or timber slats, sturdy fence posts, concrete mix, post hole digger, spirit level, measuring tape, cordless drill, saw, safety gear, and mounting brackets. Quality matters here - invest in durable materials that will withstand Australian weather conditions. Select slats that complement your property’s aesthetic while providing the right balance of privacy and style.
According to NSW Department of Planning guidelines, material selection isn’t just about appearance. You’ll need to consider local building regulations, potential wind loads, and appropriate fence heights for your specific property zone.
When selecting materials, consider your specific environment. Coastal areas require corrosion-resistant materials like marine-grade aluminium, while inland properties might handle standard aluminium or treated timber slats. Pro tip: Always buy about 10% extra materials to account for potential cutting errors or unexpected replacements.
Your essential tool kit should include:
-
Cordless drill with multiple drill bits
-
Post hole digger or motorised auger
-
Spirit level
-
Heavy hammer
-
Measuring tape
-
Safety glasses and work gloves
-
Marking spray paint
Prioritize safety equipment - sturdy work gloves, safety glasses, and ear protection are non-negotiable. If you’re using power tools or working in challenging terrain, consider additional protective gear like steel-capped boots and a hard hat.
Verify your materials and tools before starting. Check that all items are in good condition, batteries are charged, and you understand how to use each tool safely. A well-prepared workspace sets the foundation for a smooth, successful slat fencing installation.
Here’s an organised table outlining the essential tools and materials required for building your own slat fence, along with their purpose and relevant notes.
| Item | Purpose | Notes |
| Aluminium or timber slats | Main fence panels | Select based on environment & aesthetics |
| Fence posts | Structural support | Sturdy & suitable for ground conditions |
| Concrete mix | Setting posts | Use quick-setting for efficiency |
| Post hole digger/auger | Digging post holes | Motorised auger can save time & effort |
| Spirit level | Ensuring alignment | Check both posts & slats for level |
| Cordless drill & drill bits | Fixing slats & posts | Ensure charged batteries for convenience |
| Saw | Cutting materials to size | Hand or power saw as suited |
| Safety gear | Personal protection | Gloves, glasses, ear protection recommended |
| Mounting brackets | Securing slats (if aluminium system) | Necessary for modern aluminium designs |
Step 3: Install Fence Posts for Stability
Installing fence posts is the backbone of your slat fencing project, determining the overall strength and longevity of your fence. This critical step requires precision, patience, and a methodical approach to ensure your fence stands strong against Australian weather conditions.
Begin by marking your post locations using the marking spray paint from your earlier measurements. Spacing is crucial - typically, posts should be placed every 1.93 meters (1930 mm) apart (if cutting slats from 5.8 m long aluminium slat lengths) or up to 2.9 m apart if installing a centre brace (Trade Tip: it is better and much easier to go with 1.93 max panels and not having the difficulty of installing a centre brace), depending on your slat fence design and local terrain. Use your spirit level to confirm each marking is perfectly straight and aligned with your original layout plan.
Digging post holes requires careful consideration. The general rule is to dig holes approximately one-third of the post’s total length deep. In areas with soft or sandy soil, you might need deeper holes to ensure stability. A post hole digger or motorised auger will make this task significantly easier than manual digging.
According to NSW Department of Planning regulations, fence height and construction must comply with local building standards. This means your post installation needs to be robust and meet specific structural requirements.
When setting your posts, use a spirit level to ensure they are perfectly vertical from multiple angles. While temporary bracing can help secure the posts as the concrete sets, it’s not strictly necessary for most installers, who find the concrete alone provides sufficient support. You just need to double-check the posts about an hour after they’re set to make any minor adjustments before the concrete fully hardens.
Critical post installation steps include:
-
Checking vertical alignment with spirit level
-
Ensuring consistent post spacing
-
Allowing proper curing time
-
Tip: When setting steel or aluminium posts, use a standard concrete mix instead of a quick-setting one. Quick-setting mixes can contain additives that promote corrosion, leading to rust and long-term damage to the metal. A standard mix provides the same strong hold without risking the integrity of your posts.
Mix your concrete to manufacturer specifications, typically using a ratio of three parts gravel, two parts sand, and one part cement. Pour the concrete carefully around each post, eliminating air pockets by gently tamping. Allow the concrete to cure completely - usually 24 to 48 hours - before attaching any slats or further fence components.
Verify your post installation by checking that each post is level, firmly set, and spaced correctly. A well-installed post foundation guarantees a professional-looking, durable slat fence that will protect and enhance your property for years to come.
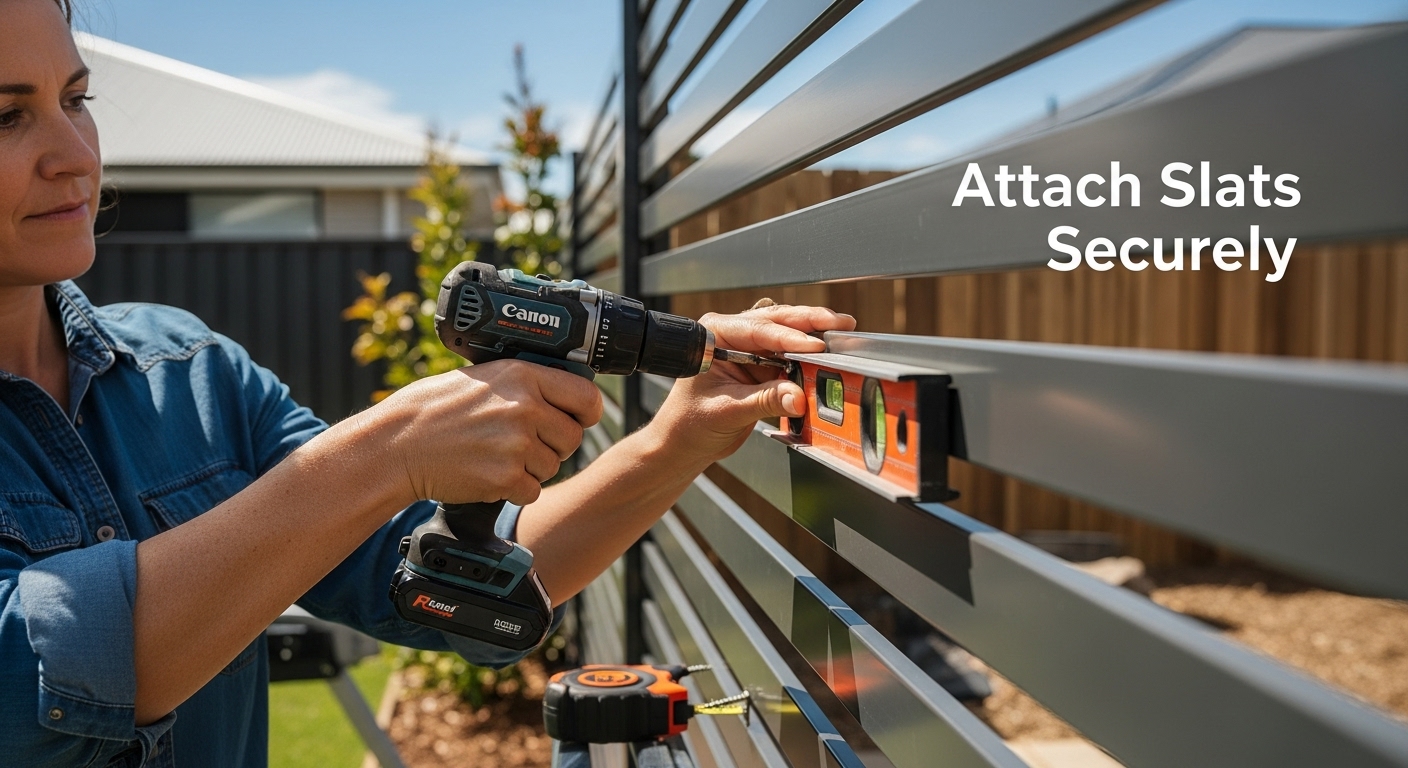
Step 4: Attach Slats Securely to the Frame
With your fence posts solidly installed, the next phase is attaching slats - the defining visual element of your DIY slat fence. This step transforms your structural framework into a functional and aesthetically pleasing boundary that reflects your personal style and property’s character.
Begin by determining your preferred slat spacing. Consistent spacing is key to a professional look. Typically, slats are installed with small gaps between 5 to 20 millimetres, allowing airflow while maintaining privacy. Use spacer blocks to ensure uniform gaps across your entire fence length.
Prepare your mounting brackets or rails, which will serve as the attachment points for your slats. Aluminium slat fencing often uses specialised mounting systems that allow for easy, precise installation. For timber slats, you’ll need to attach horizontal rails to your posts first. Ensure these rails are level and securely fastened using corrosion-resistant screws appropriate for your chosen material.
According to National Construction Code guidelines, proper fixing of cladding materials is crucial for structural integrity. This means each slat must be attached securely, with careful consideration of potential expansion and contraction.
When attaching slats, work systematically from one end of the fence to the other. Use a spirit level to check vertical alignment frequently. For aluminium slats, many modern systems use clip-in mechanisms that make alignment easier. Timber slats will require more precise drilling and screw placement. Pro tip: Pre-drill holes to prevent splitting, especially with hardwood materials.
Key considerations during slat installation:
-
Maintain consistent horizontal and vertical alignment
-
Use appropriate fixing methods for your material
-
Check for level placement every few slats
-
Allow for slight material expansion
-
Use corrosion-resistant fixings
Once all slats are attached, step back and visually inspect your work. Run your hand along the fence to check for any protruding screws or uneven sections. A well-installed slat fence should feel smooth, look symmetrical, and provide the desired level of privacy and aesthetic appeal. Minor adjustments at this stage can significantly improve the final result.
Step 5: Apply Finishing Touches and Protective Coatings
As you approach the final stage of your slat fencing project, applying finishing touches and protective coatings will elevate your fence from functional to fantastic. This crucial step not only enhances the aesthetic appeal but also protects your investment against Australia’s harsh environmental conditions.
For aluminium slats, the finishing process is relatively straightforward. Powder-coated or anodised finishes typically come pre-applied, offering excellent corrosion resistance. However, you’ll want to clean the surface thoroughly with a mild detergent and soft cloth, removing any construction dust or debris. This ensures a pristine appearance and helps maintain the protective coating’s integrity.
Timber slat fences require more comprehensive treatment. Start by sanding any rough edges or surfaces to create a smooth, even finish. Use a fine-grit sandpaper, working carefully to avoid splintering or damaging the wood. Clean the surface completely, removing all dust particles before applying any protective coating.
According to NSW Environment Protection Authority guidelines, selecting the right timber treatment is crucial. Choose a high-quality exterior-grade timber oil or water-resistant stain that complements your property’s aesthetic while providing maximum protection against moisture, UV radiation, and potential wood rot.
Apply your chosen protective coating using a high-quality brush or roller, working in smooth, consistent strokes. Pro tip: Choose a day with moderate temperature and low humidity for application. Avoid direct sunlight and ensure the surface is completely dry before starting. Multiple thin coats are always better than a single thick application.
Key finishing considerations:
-
Ensure complete surface cleaning before coating
-
Use even, consistent application techniques
-
Allow adequate drying time between coats
-
Check manufacturer’s specific instructions
-
Inspect for any missed spots or uneven coverage
Once the protective coating is applied and fully dried, perform a final inspection. Run your hand along the fence, checking for any rough spots or missed areas. Step back and view the entire fence from different angles to ensure a uniform, professional finish. Your slat fence is now not just a boundary, but a stunning feature that adds value and character to your property.
Step 6: Inspect and Verify Fence Stability and Aesthetics
The final step in your slat fencing DIY project is a comprehensive inspection that ensures your fence meets both structural integrity and visual excellence standards. This crucial verification process transforms your hard work into a professional-looking, durable boundary that will serve your property for years to come.
Begin by stepping back and viewing the entire fence from multiple angles. Visual symmetry is key - each slat should align perfectly, with consistent spacing and a clean, uniform appearance. Use your spirit level to check horizontal and vertical alignments, ensuring no slats are visibly crooked or misaligned. Small adjustments at this stage can significantly improve the overall aesthetic.
Test the fence’s structural stability by applying gentle pressure at different points. A well-constructed fence should feel solid and resist minor lateral movements. Check each post’s foundation, confirming they remain firmly embedded in the ground without any wobbling or signs of shifting. Pay special attention to corner posts and sections that might experience more stress from wind or external pressures.
According to NSW Department of Planning regulations, residential fences must meet specific height and construction standards. Your fence should not only look good but also comply with local building guidelines regarding maximum height and material specifications.
Inspect all fixings and connections carefully. Tighten any loose screws or brackets, and verify that each slat is securely attached to its mounting point. For timber slats, check for any signs of potential warping or movement. Aluminium slats should have smooth, consistent connections without any visible gaps or misalignments.
Key verification points include:
-
Consistent slat spacing
-
Level horizontal and vertical alignment
-
Solid post foundations
-
Secure fixing points
-
No visible damage or imperfections
-
Compliance with local fence regulations
Finally, test the fence’s functionality. Open and close any gates, ensuring smooth movement without dragging or catching. Walk the entire fence line, running your hand along the surface to feel for any rough spots or potential maintenance needs. A successful DIY slat fence is not just about appearance, but about creating a durable, reliable boundary that enhances your property’s value and aesthetic appeal.
This checklist table summarises the essential verification points for your final slat fencing inspection, helping ensure a professional and long-lasting result.
| Inspection Point | What to Check | Why It Matters |
| Slat spacing consistency | Gaps are uniform along the entire fence | Maintains privacy & visual appeal |
| Level alignments | Slats and posts are both vertically & horizontally level | Professional, polished appearance |
| Post stability | Posts are firmly set with no wobbling | Structural integrity & durability |
| Secure fixings | All screws, brackets, and connections are tight | Prevents future loosening |
| No visible damage | No cracks, warps, or imperfections present | Aesthetic and structural soundness |
| Coating coverage | Protective coatings are even and complete | Long-term weather resistance |
| Council regulation compliance | Fence complies with local council height & specs | Legal compliance and safety |
Make Your Slat Fence Project Easy with Fence Guru’s In-Stock Supplies
Getting started with your own slat fencing can feel daunting when you have to measure everything with precision, navigate tricky site conditions, and make sure every slat lines up perfectly. In the article above, you learned how critical it is to source the right materials and ensure your fence stands strong and looks sharp. But many DIYers face frustrations sourcing correct, compliant supplies without hassle or delay.
When time, quality, and convenience matter, Fence Guru is ready to help. With Australia’s largest range of professional-grade slat fencing supplies truly in stock and ready for fast pick-up or delivery, you can start building your fence with total confidence. Every item meets Australian Standards, letting you focus on the job—no wasted trips or guesswork about material durability.

Why wait until supplies run out or you hit an unexpected snag at the hardware store? Make your slat fence project run smoothly from plan to finish with fencing supplies in stock, ready to go. Shop now at Fence Guru and get your materials fast so your DIY project looks as good as you imagined.
Frequently Asked Questions
How do I measure for my slat fencing project?
Begin by walking your property boundary and marking the exact fence line using a tape measure and marking spray paint. Measure the total length multiple times, considering any corners or obstacles, to ensure accurate calculations for the materials needed.
What materials do I need for a slat fence?
For a standard slat fence, you will need aluminium or timber slats, sturdy fence posts, concrete mix, a post hole digger, a spirit level, measuring tape, a cordless drill, a saw, and safety gear. Additional mounting brackets may also be required depending on your chosen design.
How far apart should the fence posts be placed?
For a strong and stable fence, it’s recommended to space your posts no more than 1.93 meters (1930 mm) apart. This spacing is not only ideal for structural integrity, but it’s also the most cost-effective option when using standard 5.8-meter slat lengths, as it drastically reduces material waste. A key benefit of this spacing is that it eliminates the need for a centre brace, which simplifies the installation process and saves you time. Always verify that your post spacing aligns with your specific fence design and local terrain requirements.
What is the best way to apply protective coatings on timber slats?
First, sand any rough edges to create a smooth surface. Clean the wood to remove dust, then apply a high-quality exterior-grade timber oil or water-resistant stain using a brush or roller. Multiple thin coats are recommended for an even finish, and ensure to let each coat dry fully before applying the next.
Recent Posts
-
Searching for Vineyard Posts? Why Your Front Entrance Needs Premium PVC Post and Rail.
When you are setting up a new block or upgrading an established property, searching for the right vi …18th May 2026 -
Thinking of Buying a Timber Post and Rail Fence and Painting it White? Why PVC is the Perfect Choice.
That classic, crisp look of a white post and rail fence is hard to beat. It instantly gives a proper …18th May 2026 -

7 Smart Pool Fencing Options List for Aussie Homes
7 Smart Pool Fencing Options List for Aussie Homes Did you know that almost 70 percent of Australia …31st Oct 2025

