
Garden Fence Installation Process: Build Your Own Fence in 2025
Garden Fence Installation Process: Build Your Own Fence in 2025
Putting up a garden fence sounds simple but the real challenge starts long before you pick up a post hole digger. Most Aussies are surprised to learn that just one small measurement mistake can spark legal action or force you to move the whole fence. Planning each step from checking boundaries to choosing fire-safe materials is what separates a fence that lasts decades from one that falls flat within months.
Table of Contents
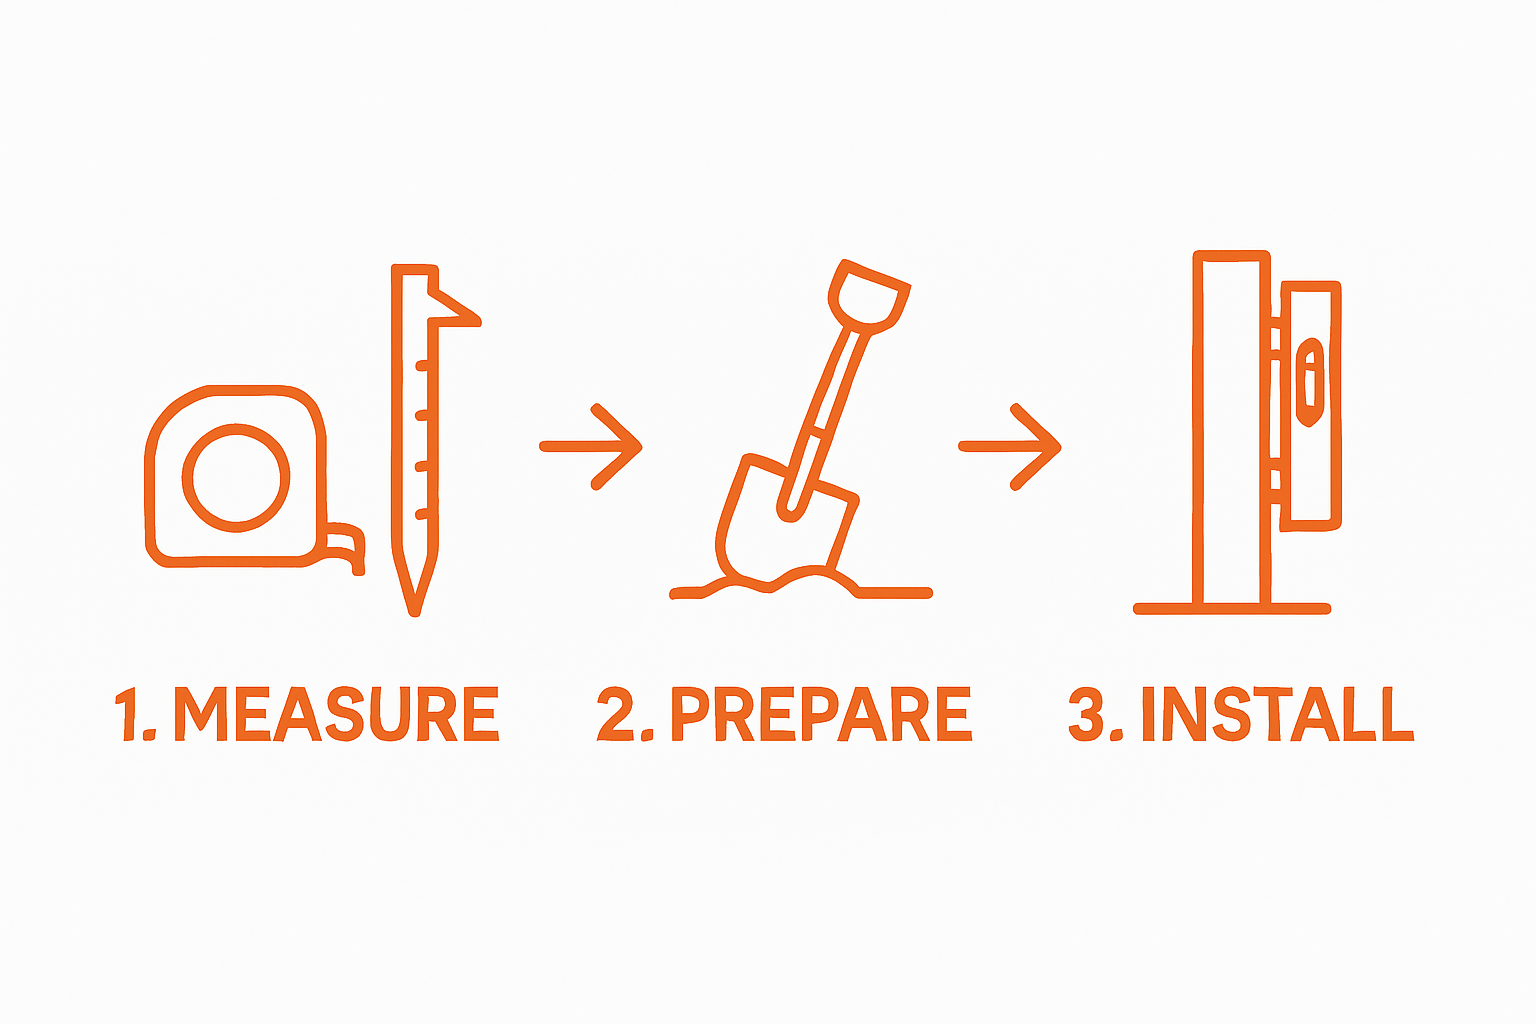
- Step 1: Measure Your Property Boundaries
- Step 2: Choose Suitable Materials For Your Fence
- Step 3: Prepare The Ground For Installation
- Step 4: Install Fence Posts Securely
- Step 5: Attach Fence Panels And Finishing Touches
- Step 6: Inspect And Maintain Your New Fence
Quick Summary
| Key Point | Explanation |
|---|---|
| 1. Carefully Measure Property Boundaries | Accurate boundary measurements prevent legal disputes and clarify your property’s limits before fence installation. |
| 2. Choose Materials Based on Purpose | Selecting materials should reflect the fence’s intended use, local conditions, and budget, ensuring long-lasting durability. |
| 3. Prepare Ground Thoroughly | Clear the fence line and verify edges to ensure a solid and stable base for your fence installation. |
| 4. Install Posts with Precision | Use high-strength concrete and maintain proper alignment for each post to ensure fence stability and longevity. |
| 5. Regular Maintenance is Essential | Periodic inspections and timely repairs extend the life of your fence, protecting your investment and maintaining its appearance. |
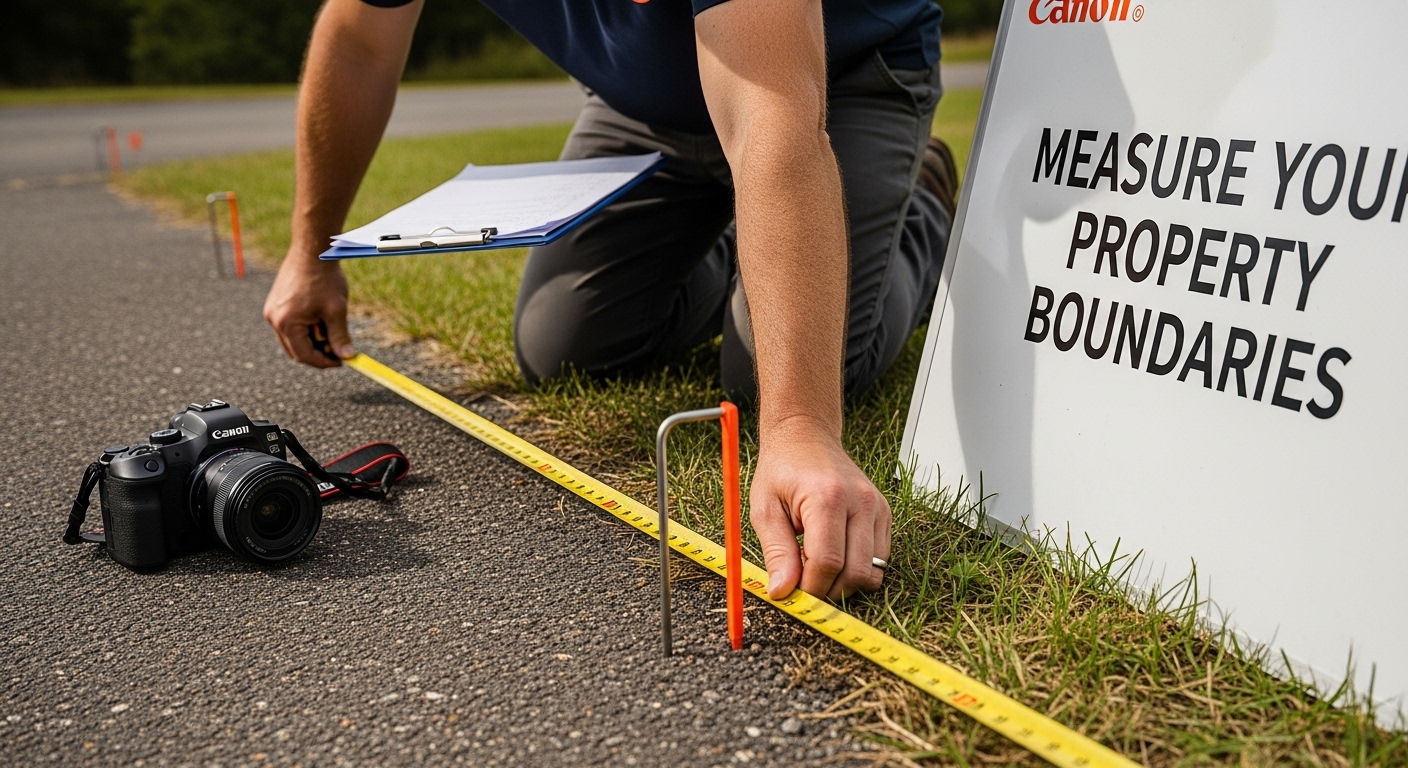
Step 1: Measure Your Property Boundaries
Accurately measuring your property boundaries is the critical first step in any successful garden fence installation process. Before you drive a single post or unroll any fencing material, understanding precisely where your legal property lines exist will save you potential legal headaches and neighbourly disputes.
To begin this process, you’ll need to gather some essential tools and resources. Grab a measuring tape, notebook, clipboard, and ideally a digital camera or smartphone for documentation. Your primary goal is to create a detailed property boundary map that reflects the exact dimensions and legal limits of your land.
The most reliable method involves consulting your property’s original land title documents, which typically include precise boundary measurements. If these aren’t readily available, consider hiring a professional licensed surveyor who can provide an authoritative boundary assessment. According to the Legal Aid NSW guidance, serving a boundary notice can help clarify boundary lines if you and your neighbour disagree about the exact property line.
When measuring, start by identifying your property’s official corners and reference points. Measure from these established points, recording distances carefully. Pay special attention to potential complications like:
- Irregular property shapes
- Existing landscape features
- Potential underground utilities
- Neighbourhood easements
Verification is crucial. Double check your measurements, compare them against official land records, and if possible, have a second person confirm your findings. A small measurement error could mean the difference between a legally compliant fence and a potentially costly mistake that requires complete removal and reinstallation.
Once you’ve completed your boundary measurements, create a detailed sketch or digital map. This document will serve as your primary guide throughout the garden fence installation process, ensuring every subsequent step aligns precisely with your property’s legal boundaries.
Step 2: Choose Suitable Materials for Your Fence
Selecting the right materials is a pivotal moment in your garden fence installation process, where durability meets aesthetic appeal. Your choice will determine not just how your fence looks, but how well it withstands Australia’s challenging environmental conditions, from scorching summers to potential bushfire risks.
Consider the primary purpose of your garden fence before diving into material selection. Are you seeking privacy, security, wind protection, or simply creating an attractive boundary? Each objective demands a different material approach. Timber remains a classic choice, offering natural warmth and versatility, while metal options provide superior durability and low maintenance.
For homeowners in bushfire-prone regions, material selection becomes critically important. According to the National Emergency Management Agency, using non-combustible materials like metal, concrete, or stone can significantly enhance your property’s bushfire resilience. Aluminium fencing, for instance, offers exceptional fire resistance while maintaining an attractive appearance.
Budget plays a substantial role in material selection. While hardwood timber might seem economical initially, treated metal or composite materials often provide better long-term value. Consider factors like:
- Initial material cost
- Installation complexity
- Maintenance requirements
- Expected lifespan
- Local climate conditions
Texture and aesthetic compatibility with your existing landscape should also guide your decision. A modern minimalist garden might suit sleek aluminium slat fencing, while a rustic rural property could benefit from robust timber or wire fencing.
Here is a summary table comparing common garden fence materials, highlighting their primary use, pros, and key considerations to help guide your selection.
| Material Type | Best For | Advantages | Key Considerations |
|---|---|---|---|
| Timber | Versatility, aesthetic warmth | Natural look, suits rustic or classic gardens | Susceptible to rot, requires regular maintenance |
| Metal (Aluminium/Steel) | Durability, bushfire zones | Non-combustible, low maintenance, modern appeal | Higher upfront cost, may rust if not treated |
| Composite | Long-term value | Low maintenance, weather resistant | Pricier, limited style options compared to timber |
| Concrete/Stone | Maximum resilience, fire-prone areas | Extremely durable, fire resistant | Heavy, can be expensive, installation complexity |
| Wire | Rural or agricultural boundaries | Cost effective, easy installation | Offers little privacy, not ideal for urban gardens |
Before making a final decision, collect material samples, compare warranties, and consult local fencing professionals. Your chosen materials should not only meet your immediate requirements but also provide reliable performance for years to come.
Step 3: Prepare the Ground for Installation
Preparing the ground is a critical foundation for a sturdy and long-lasting garden fence. This stage transforms your boundary from a theoretical line to a practical installation site, requiring careful planning and precise execution. Your ground preparation will directly impact the fence’s stability, longevity, and overall performance.
Begin by clearing the entire fence line of vegetation, rocks, and debris. Use a sturdy garden rake to remove small stones, roots, and organic material that could interfere with post placement. Pay special attention to areas with dense vegetation or uneven terrain, as these can create significant installation challenges.
According to the Victorian Building Authority, understanding local building regulations is crucial before proceeding with ground preparation. Some areas require specific permits or have restrictions on fence height and placement, so confirming these details prevents potential legal complications.
Next, use marking paint or string lines to create a precise, straight boundary line. Accuracy here is paramount. A slight deviation can result in an uneven fence that looks unprofessional and potentially encroaches on neighbouring properties. Use a string line and stakes to establish a perfectly straight reference point, measuring multiple times to ensure precision.
Understanding your soil type is crucial for effective ground preparation. Clay soils require different approaches compared to sandy or rocky terrain. For most installations, you’ll want to dig post holes that are:
- Approximately 600mm deep
- Wide enough to accommodate your chosen fence posts
- Below the local frost line
- Capable of providing stable support
Consider underground utilities before any digging begins. Contact your local utility locator service to mark electrical, water, and gas lines, preventing potentially dangerous and costly accidents. A professional underground utility scan can provide additional peace of mind and protect you from unexpected infrastructure damage.
Once your ground is prepared, take a final moment to verify your measurements, ensure your line is straight, and confirm that the area is completely clear and ready for post installation.
The checklist below organises key verification and preparation steps prior to post installation, ensuring a solid foundation for your garden fence.
| Task | Details to Confirm | Why it Matters |
|---|---|---|
| Clear fence line | Remove all vegetation, rocks, debris | Prevents post instability and installation issues |
| Check local regulations | Confirm permits, fence height, boundary rules | Ensures compliance, avoids legal complications |
| Mark boundary accurately | Use string lines, stakes, paint | Maintains straightness and correct placement |
| Verify soil type | Identify clay, sand, or rocky conditions | Influences digging method and post depth |
| Locate underground utilities | Use locator service to mark services | Prevents damage and ensures safety |
| Measure post hole depth/width | Aim for ~600mm depth, sufficient width | Provides necessary support for fence posts |
Step 4: Install Fence Posts Securely
Installing fence posts is the structural backbone of your garden fence installation process, where precision meets strength. Each post you set will determine the overall stability and appearance of your finished fence, making this step absolutely critical to your project’s success.
Concrete is your best friend in creating a rock-solid foundation. Most professional fencers recommend using a high-strength concrete mix specifically designed for outdoor post installations. Before mixing, ensure your post holes are clean, free of loose debris, and meet the depth requirements established during your ground preparation stage.
According to the Tocal College Fencing AgGuide, proper post installation involves more than simply dropping a post into a hole. You’ll want to create a slight slope or angle in your concrete base to allow water runoff, preventing moisture accumulation that could lead to timber rot or metal corrosion.
Position each post carefully, using a spirit level to ensure absolute vertical alignment. Temporary bracing becomes crucial during this stage, helping maintain perfect positioning while the concrete sets. Use sturdy timber supports positioned at multiple angles to keep posts perfectly straight and prevent any potential movement.
Consider these critical post installation considerations:
- Maintain consistent spacing between posts
- Ensure posts are level and plumb
- Allow sufficient concrete curing time
- Protect timber posts with appropriate sealant
- Check for underground utility interference
Post installation timing matters significantly. Avoid pouring concrete during extreme weather conditions like intense heat or potential frost. Ideal temperatures range between 10 and 25 degrees Celsius, providing optimal concrete curing conditions. After setting posts, allow at least 24 to 48 hours for the concrete to achieve maximum strength before proceeding with fence panel installation.
Once your posts are set, perform a comprehensive verification. Wiggle each post to check stability, use multiple levels to confirm vertical alignment, and visually inspect the entire fence line. A meticulously installed post foundation ensures your garden fence will stand strong and true for many years to come.
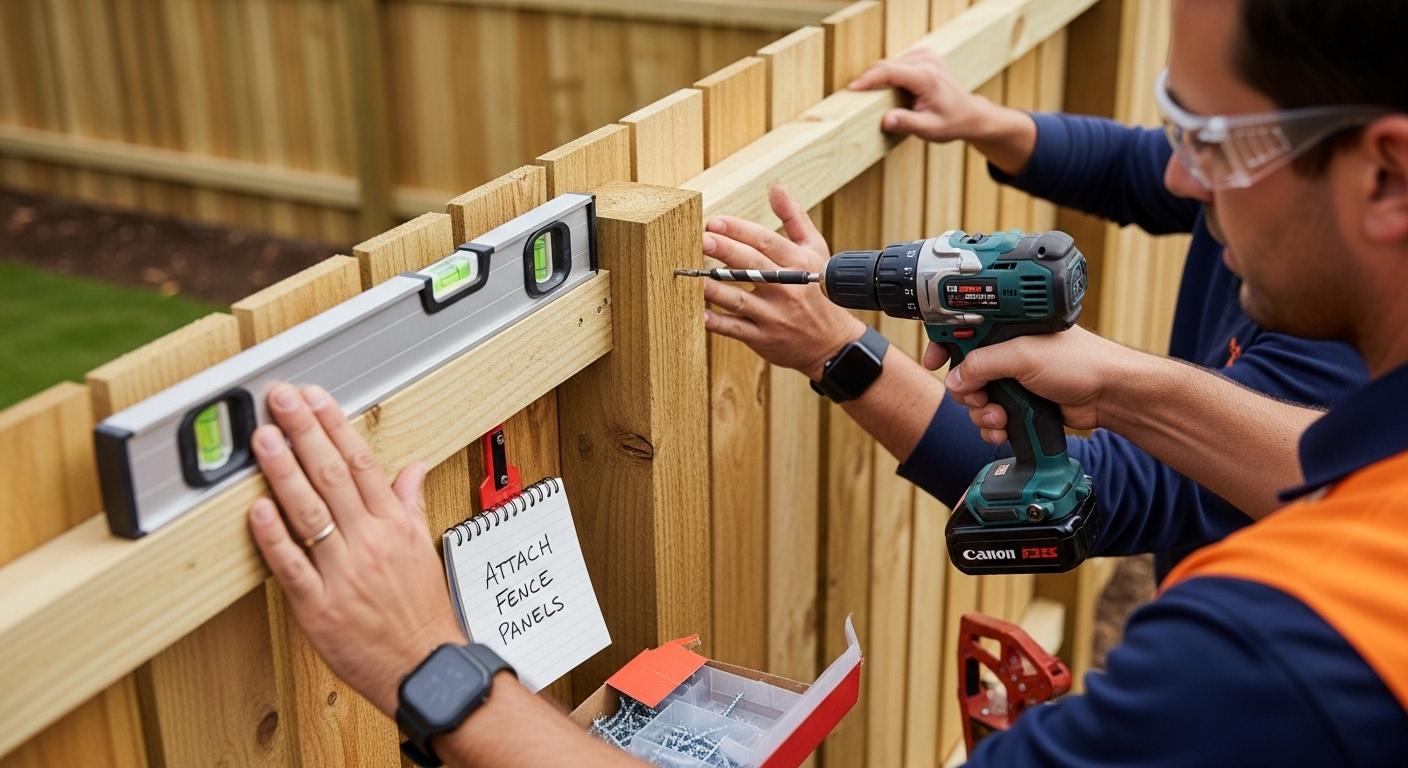
Step 5: Attach Fence Panels and Finishing Touches
Attaching fence panels represents the transformative moment where your carefully prepared groundwork becomes a complete garden boundary. This stage requires precision, patience, and a systematic approach to ensure a professional and aesthetically pleasing result.
Start by dry fitting your panels between the installed posts, checking for consistent spacing and alignment. This preliminary step allows you to make minor adjustments before permanent installation. Use temporary supports or a helper to hold panels in place while you begin the attachment process. Ensure each panel sits level and maintains the straight line you established during ground preparation.
According to the Queensland Government’s fencing guidelines, meeting local authority requirements is crucial during panel installation. Different materials demand different attachment methods - timber panels might require sturdy galvanised screws, while metal panels often use specialized brackets or welding techniques.
Choose your fastening method carefully. Galvanised or stainless steel fixings provide the best long-term corrosion resistance, particularly in Australia’s challenging coastal and rural environments. For timber panels, pre-drilling holes prevents splitting and ensures a cleaner, more professional finish. Space your fixings consistently, typically every 300-400mm along the panel’s length.
Consider these critical panel attachment considerations:
- Maintain consistent panel height
- Check horizontal alignment
- Use appropriate weatherproof fixings
- Allow slight expansion gaps
- Protect wooden panels with sealant
Once panels are attached, focus on finishing touches. Trim any excess material, sand rough edges, and apply protective treatments appropriate to your chosen material. For timber fences, this might mean a weatherproof sealant. Metal fences might require touch-up paint to prevent potential rust.
Final verification involves walking the entire fence line, checking for any loose panels, uneven sections, or potential weak points. Gently test each panel’s stability, ensuring they’re securely fastened and maintain the straight line you originally planned. Your meticulous attention to detail during this final stage will result in a fence that not only looks professional but will stand strong against Australia’s diverse environmental challenges.
Step 6: Inspect and Maintain Your New Fence
Maintaining your newly installed garden fence is not just about preserving its appearance but ensuring its structural integrity and longevity. A well-maintained fence can last decades, while neglect can lead to premature deterioration and costly replacements.
Begin your maintenance routine with a comprehensive seasonal inspection. Spring and autumn are ideal times for thorough examinations, allowing you to identify and address potential issues before they escalate. Look closely for signs of wear, including loose fasteners, wood rot, rust on metal components, or subtle ground shifts that might compromise post stability.
According to the Queensland Government’s guidelines, understanding maintenance obligations is crucial, particularly for dividing fences that might involve neighbourly considerations. Regular inspections help prevent potential disputes and ensure your fence remains in optimal condition.
Different materials demand specific maintenance approaches. Timber fences require periodic sealing or painting to protect against moisture and UV damage. Metal fences might need touch-up paint to prevent rust, while composite materials generally need minimal intervention. Cleaning is a universal maintenance step - use appropriate cleaning solutions based on your fence material, removing dirt, moss, and potential organic growth that could compromise the fence’s structure.
Consider these critical maintenance checkpoints:
- Check for loose or damaged panels
- Inspect post foundations for soil erosion
- Look for signs of pest infestation
- Verify gate functionality
- Address minor repairs promptly
Weather plays a significant role in fence deterioration. Australia’s diverse climate zones mean your maintenance strategy might vary depending on your specific location. Coastal areas with high salt exposure might require more frequent inspections and protective treatments, while inland regions might focus more on sun and heat damage prevention.
Documenting your maintenance efforts can be incredibly valuable. Take periodic photographs, maintain a maintenance log, and keep records of any repairs or treatments. This documentation not only helps you track your fence’s condition but can also be useful if you decide to sell your property or need to make warranty claims. A systematic approach to fence maintenance transforms your garden boundary from a simple barrier into a long-lasting, attractive feature of your outdoor space.
Ready to Build the Perfect Garden Fence? We’ve Got Your Back
After learning how every step in garden fence installation can make or break your project, why risk wasting time or money on the wrong materials or tools? Choosing the right fencing supplies, following proper installation, and using professional-grade products are key if you want a boundary that truly lasts. If you’re concerned about quality, quick access, or simply want an easier way to upgrade your property in 2025, Fence Guru is your trusted supplier. Our extensive range includes everything you need for each stage, from premium posts to finishing accessories. Browse Fence Guru’s Garden Fencing supplies for durable and compliant solutions that match Australia’s tough standards.

Don’t let your hard work go to waste. Join thousands of Aussies who’ve taken control of their projects and achieved flawless results with our easy click and collect service and expert support. Visit https://fenceguru.com.au now to secure your supplies while stock lasts. If you have questions about the best products for ground preparation or protecting your posts, just ask our friendly team. Start your project with confidence and make garden fence installation a breeze.
Frequently Asked Questions
How do I accurately measure my property boundaries for fence installation?
Accurately measuring your property boundaries involves consulting original land title documents or hiring a licensed surveyor. Use a measuring tape and mark corners while documenting dimensions carefully to create a boundary map.
What materials should I consider for my garden fence based on location?
When selecting materials, consider your primary needs such as privacy and durability, as well as environmental factors. In bushfire-prone areas, opt for non-combustible materials like metal or concrete, while timber may suit non-risk areas if properly treated.
How can I prepare the ground before installing my fence?
To prepare the ground, clear the fence line of vegetation and debris, mark the boundary accurately with paint or string lines, and dig post holes to the appropriate depth and width. Be sure to check for underground utilities before digging.
What steps should I follow to install fence posts securely?
To install fence posts securely, ensure holes are clean and the correct depth, mix high-strength concrete, position posts vertically using a level, brace them temporarily while the concrete sets, and follow up with a thorough inspection for stability.
Recent Posts
-
Searching for Vineyard Posts? Why Your Front Entrance Needs Premium PVC Post and Rail.
When you are setting up a new block or upgrading an established property, searching for the right vi …18th May 2026 -
Thinking of Buying a Timber Post and Rail Fence and Painting it White? Why PVC is the Perfect Choice.
That classic, crisp look of a white post and rail fence is hard to beat. It instantly gives a proper …18th May 2026 -

7 Smart Pool Fencing Options List for Aussie Homes
7 Smart Pool Fencing Options List for Aussie Homes Did you know that almost 70 percent of Australia …31st Oct 2025

